以前の記事でTableViewの表示の仕方を紹介しました。
今回はtableViewのCellを選択した時の実装を紹介していきます。
tableViewがしっかり表示されていてのお話ですので、もしそこから表示から始める方は
下記URlから飛んで以前の記事を見てからこちらの記事を見ていただければと思います。
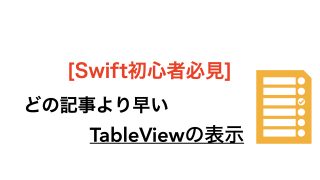
【Swift 初心者】TableViewを表示させるのに1番早い記事 他にもたくさん同じ様な記事があると思いますが、こちらの記事がおそらく tableViewを表示させるのに最速の方法です。
...
実際前回のコードから追加する箇所は3行ほどです。
TableViewのDelegateのdidSelectRowAtメソッド
まず前回のコードを載せておきます。
import UIKit

class ViewController: UIViewController , UITableViewDelegate, UITableViewDataSource {
    var array = ["a", "b", "c"]
    func tableView(_ tableView: UITableView, numberOfRowsInSection section: Int) -> Int {
        return array.count
    }

    func tableView(_ tableView: UITableView, cellForRowAt indexPath: IndexPath) -> UITableViewCell {
       let cell: UITableViewCell = tableView.dequeueReusableCell(withIdentifier: "Cell", for: indexPath)
        // セルに表示する値を設定する
        cell.textLabel!.text = array[indexPath.row]
        return cell

    }
    override func viewDidLoad() {
        super.viewDidLoad()
        // Do any additional setup after loading the view.
    }
}
  func tableView(_ tableView: UITableView, cellForRowAt indexPath: IndexPath) -> UITableViewCell {
       let cell: UITableViewCell = tableView.dequeueReusableCell(withIdentifier: "Cell", for: indexPath)
        // セルに表示する値を設定する
        cell.textLabel!.text = array[indexPath.row]
        return cell
    }
の } の下に追加で記述していきます。
func tableView(_ tableView: UITableView, didSelectRowAt indexPath: IndexPath) {
   print(array[indexPath.row])
 }
これだけです。
このdidSelectRowAtがCellを触ったといことを感知しているfunctionで
その中身に触った箇所の情報をXcodeのコンソールに表示させるということをやっております。
あとはシュミレーター,あるいは実機で表示しているどれかを選択してみてください
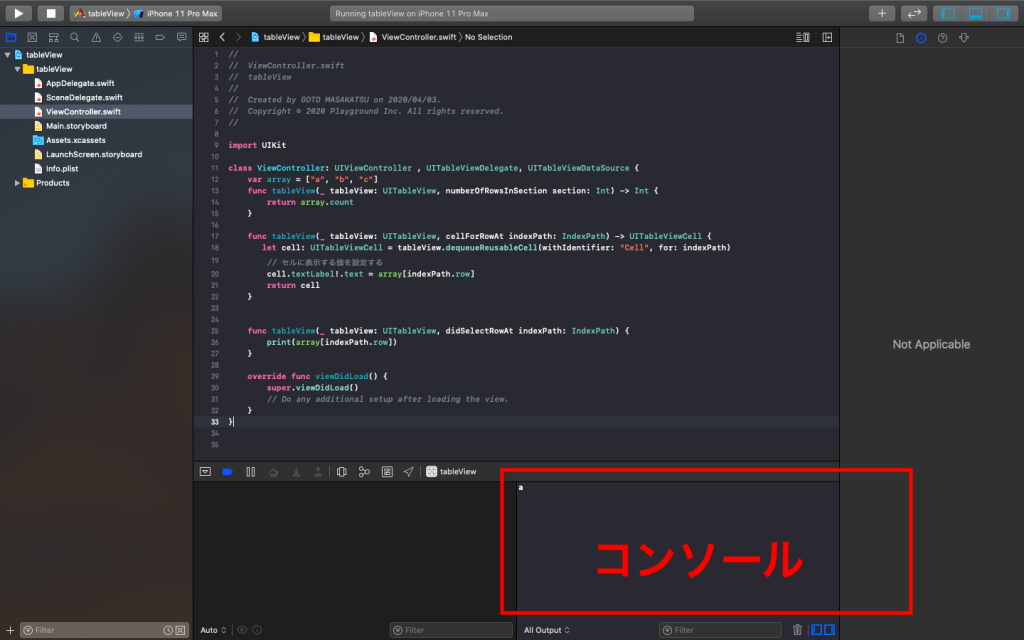
コンソールに表示がされているかと思います。
私の場合はaを選択しました。
正直これだけでは見た目が何か変わっているわけではないので面白くないないかと思います
なので、選択した箇所にアラートを追加していきましょう。
選択したCellの箇所をアラートで表示させましょう
 func tableView(_ tableView: UITableView, didSelectRowAt indexPath: IndexPath) {
   var alertController = UIAlertController()
   alertController = UIAlertController(title:array[indexPath.row] ,message: "ここは下の段",preferredStyle: .alert)
   alertController.addAction(UIAlertAction(title: "OK",style: .default,handler: nil))
   present(alertController, animated: true)
}
didSelectRowAtの中身を書き換えて上記の様に変更してみてください。
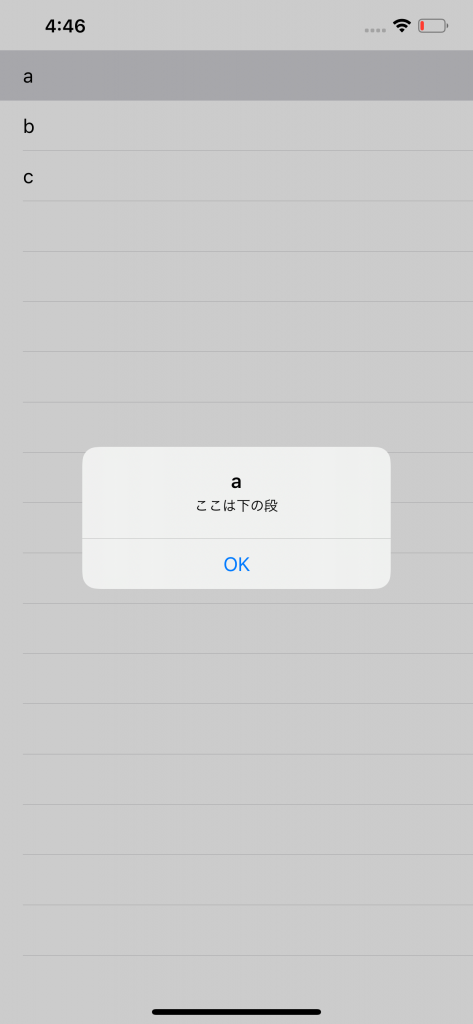
表示ができれいれば成功です。
最後にコードを載せておきます
import UIKit

class ViewController: UIViewController , UITableViewDelegate, UITableViewDataSource {
    var array = ["a", "b", "c"]
    func tableView(_ tableView: UITableView, numberOfRowsInSection section: Int) -> Int {
        return array.count
    }

    func tableView(_ tableView: UITableView, cellForRowAt indexPath: IndexPath) -> UITableViewCell {
       let cell: UITableViewCell = tableView.dequeueReusableCell(withIdentifier: "Cell", for: indexPath)
        // セルに表示する値を設定する
        cell.textLabel!.text = array[indexPath.row]
        return cell
    }


    func tableView(_ tableView: UITableView, didSelectRowAt indexPath: IndexPath) {
        var alertController = UIAlertController()
        alertController = UIAlertController(title:array[indexPath.row] ,message: "ここは下の段",preferredStyle: .alert)
        alertController.addAction(UIAlertAction(title: "OK",style: .default,handler: nil))
        present(alertController, animated: true)
    }

    override func viewDidLoad() {
        super.viewDidLoad()
        // Do any additional setup after loading the view.

    }
}ABOUT ME
株式会社Playgroundのサービス
- 無料・簡単・片手でホームページを作成できる自社サービス Rakwi
- Web制作とアプリ開発を学べるオンラインプログラミング講座 Upstairs
- 開発,DX推進支援サービス スタートアッププラン