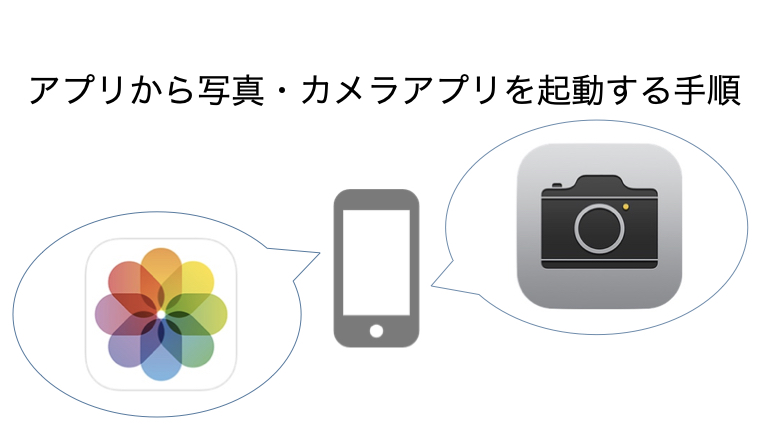
完成形
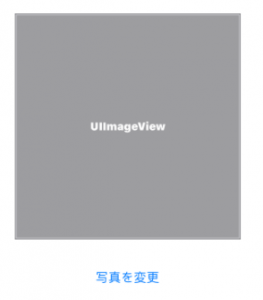
Viewの設置
MainViewにImageViewとUIButtonを設置し、コードに接続します。
UIButtonがタップされたことをViewControllerに伝えておきます。
写真とカメラへのアクセス許可
写真アプリとカメラアプリにアクセスするには、ユーザーに予め許可をとる必要があります。
(許可を取っていない場合、エラーが出るようになっています。)
Info.plist に以下2つを追加します。
- Privacy – Photo Library Usage Description : ライブラリへのアクセスを許可しますか?
- Privacy – Camera Usage Description : カメラへのアクセスを許可しますか?
写真orカメラの起動
ViewControllerに以下の関数を追加します。
func useCamera(isDeletable: Bool?=nil,
                          deleteAction:((UIAlertAction) -> Void)?=nil) {
        checkCameraAuth {
            DispatchQueue.main.async { [weak self] in
                guard let this = self else { return }
                this.activeCamera(isDeletable: isDeletable,
                                      deleteAction: deleteAction)
            }
        }
}
func activeCamera(isDeletable: Bool?=nil,
                             deleteAction:((UIAlertAction) -> Void)?=nil) {
    let alert: UIAlertController = UIAlertController(title: "", message: "選択してください", preferredStyle: .actionSheet)
    let cameraAction: UIAlertAction = UIAlertAction(title: "カメラで撮影", style: .default, handler:{ [weak self]
            (action: UIAlertAction!) -> Void in
        guard let this = self else { return }
        let sourceType:UIImagePickerController.SourceType = UIImagePickerController.SourceType.camera
        if UIImagePickerController.isSourceTypeAvailable(UIImagePickerController.SourceType.camera){
            let cameraPicker = UIImagePickerController()
            cameraPicker.sourceType = sourceType
            cameraPicker.delegate = this
            this.present(cameraPicker, animated: true, completion: nil)
        }
    })

    let galleryAction: UIAlertAction = UIAlertAction(title: "アルバムから選択", style: .default, handler:{ [weak self]
        (action: UIAlertAction!) -> Void in
        guard let this = self else { return }
        let sourceType:UIImagePickerController.SourceType = UIImagePickerController.SourceType.photoLibrary
        if UIImagePickerController.isSourceTypeAvailable(UIImagePickerController.SourceType.photoLibrary){
            let libraryPicker = UIImagePickerController()
            libraryPicker.sourceType = sourceType
            libraryPicker.delegate = this
            this.present(libraryPicker, animated: true, completion: nil)
        }
    })

    let deleteAction = UIAlertAction(title: "写真を削除", style: .default, handler: deleteAction)
    let cancelAction: UIAlertAction = UIAlertAction(title: "キャンセル", style: UIAlertAction.Style.cancel, handler:{
        (action: UIAlertAction!) -> Void in
        print("キャンセル")
    })
    alert.addAction(cancelAction)
    alert.addAction(cameraAction)
    alert.addAction(galleryAction)
    if isDeletable == true {
        alert.addAction(deleteAction)
    }
    present(alert, animated: true, completion: nil)
}
写真を変更ボタンが押されたときにこのuseCamera関数を呼び出すと、
写真またはカメラを選択するアクションシートが出て来ます。
(1番最初は、ライブラリとカメラへのアクセス許可を求めるアラートが表示されます。)
※カメラはシュミレーターでは起動しません。
選択された写真の表示
アルバムまたはカメラから写真が選択されたら、その写真をImageViewに表示させます。
以下の関数を追加します。
3行目で、mainViewに置いたImageViewに選択されたimageを入れています。
func imagePickerController(_ picker: UIImagePickerController, didFinishPickingMediaWithInfo info: [UIImagePickerController.InfoKey : Any]) {
    if let image = info[.originalImage] as? UIImage {
        self.mainView.mainImageView.image = image
        picker.dismiss(animated: true, completion: nil)
    }
}
ABOUT ME
株式会社Playgroundのサービス
- 無料・簡単・片手でホームページを作成できる自社サービス Rakwi
- Web制作とアプリ開発を学べるオンラインプログラミング講座 Upstairs
- 開発,DX推進支援サービス スタートアッププラン