こんにちは、iOSエンジニアの伊原です。
今日はSwiftで作ったViewに影をつける方法を解説します。
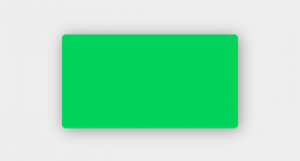
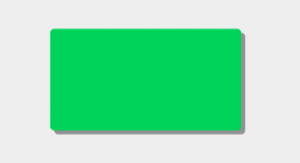
Swiftで影をつける基本的な方法
tergetView.layer.shadowOffset = CGSize(width: 0.0, height: 2.0)
tergetView.layer.shadowColor = UIColor.black.cgColor
tergetView.layer.shadowOpacity = 0.6
tergetView.layer.shadowRadius = 4
Swiftで好きなように影を調整してみる
先ほど作成した影をベースに、好きなように影を作ってみましょう。
Viewから影までの距離
基本の影1行目のshadowOffsetで設定しています。
widthに値を入れるとその分右に、
heightに値を入れるとその分下に影がずれてくれます。
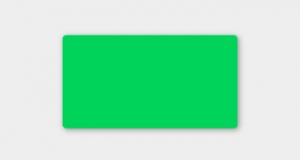
例えばこんな感じ。
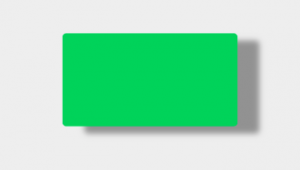
tergetView.layer.shadowOffset = CGSize(width: 30.0, height: 10.0)影の色
基本の影2行目のshadowColorで設定しています。
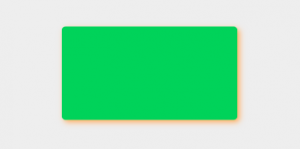
tergetView.layer.shadowColor = UIColor.orange.cgColor影の不透明度
基本の影3行目のshadowOpacityで設定しています。
1.0がMaxの値です。
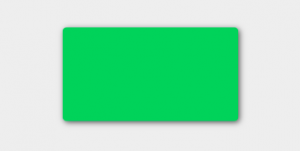
tergetView.layer.shadowOpacity = 1.0影の幅
基本の影4行目のshadowRadiusで設定しています。
幅が大きいほど、ぼかしが効きます。
tergetView.layer.shadowRadius = 10
逆に0を指定すると、ぼかしが全くない影になります。
自由に影をつけられるようになると楽しいので
是非いろいろ試してみてください(⁎˃ᴗ˂⁎)
ABOUT ME
株式会社Playgroundのサービス
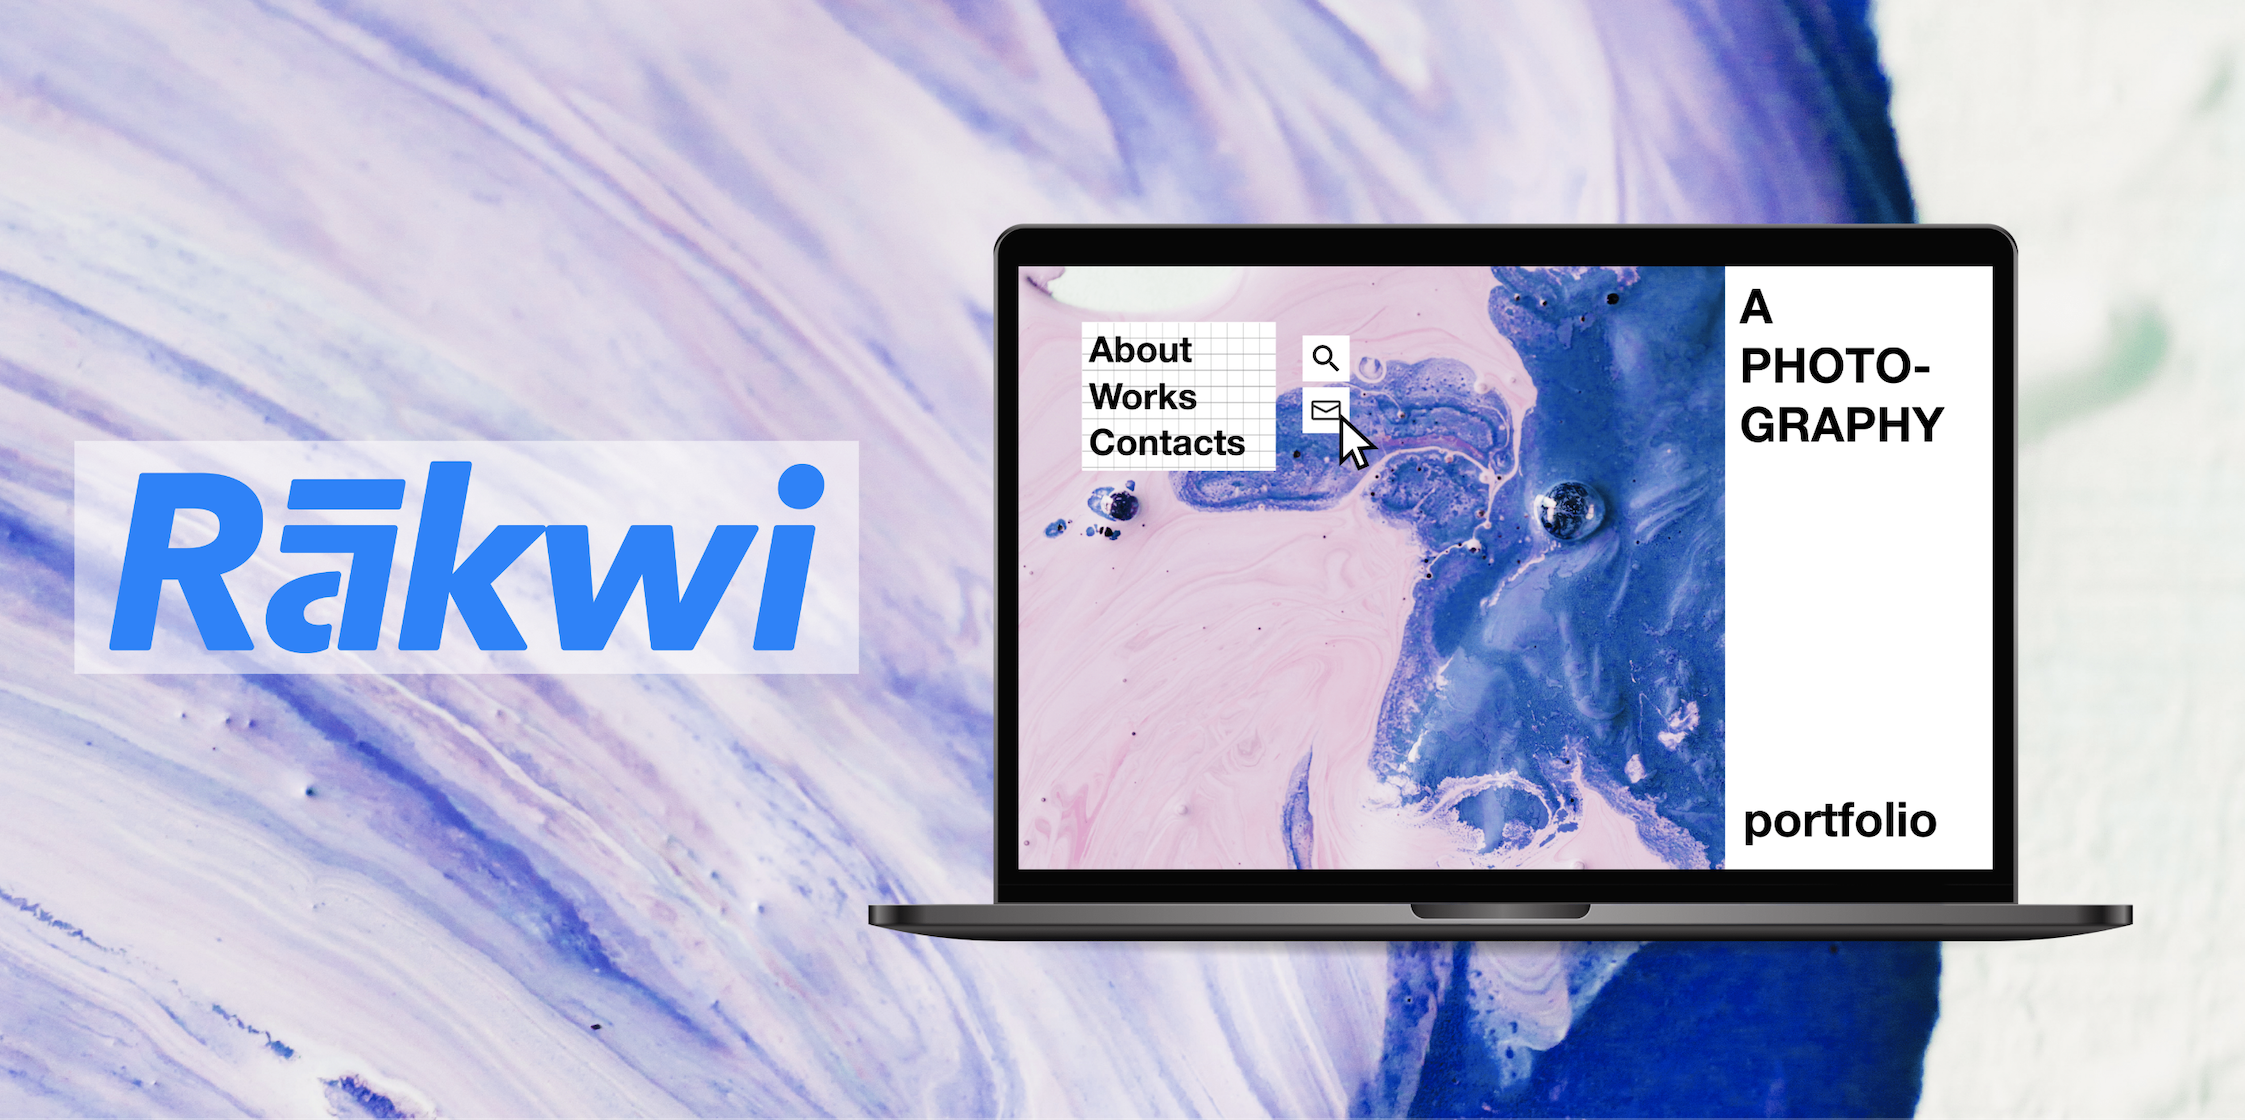
- 無料・簡単・片手でホームページを作成できる自社サービス Rakwi
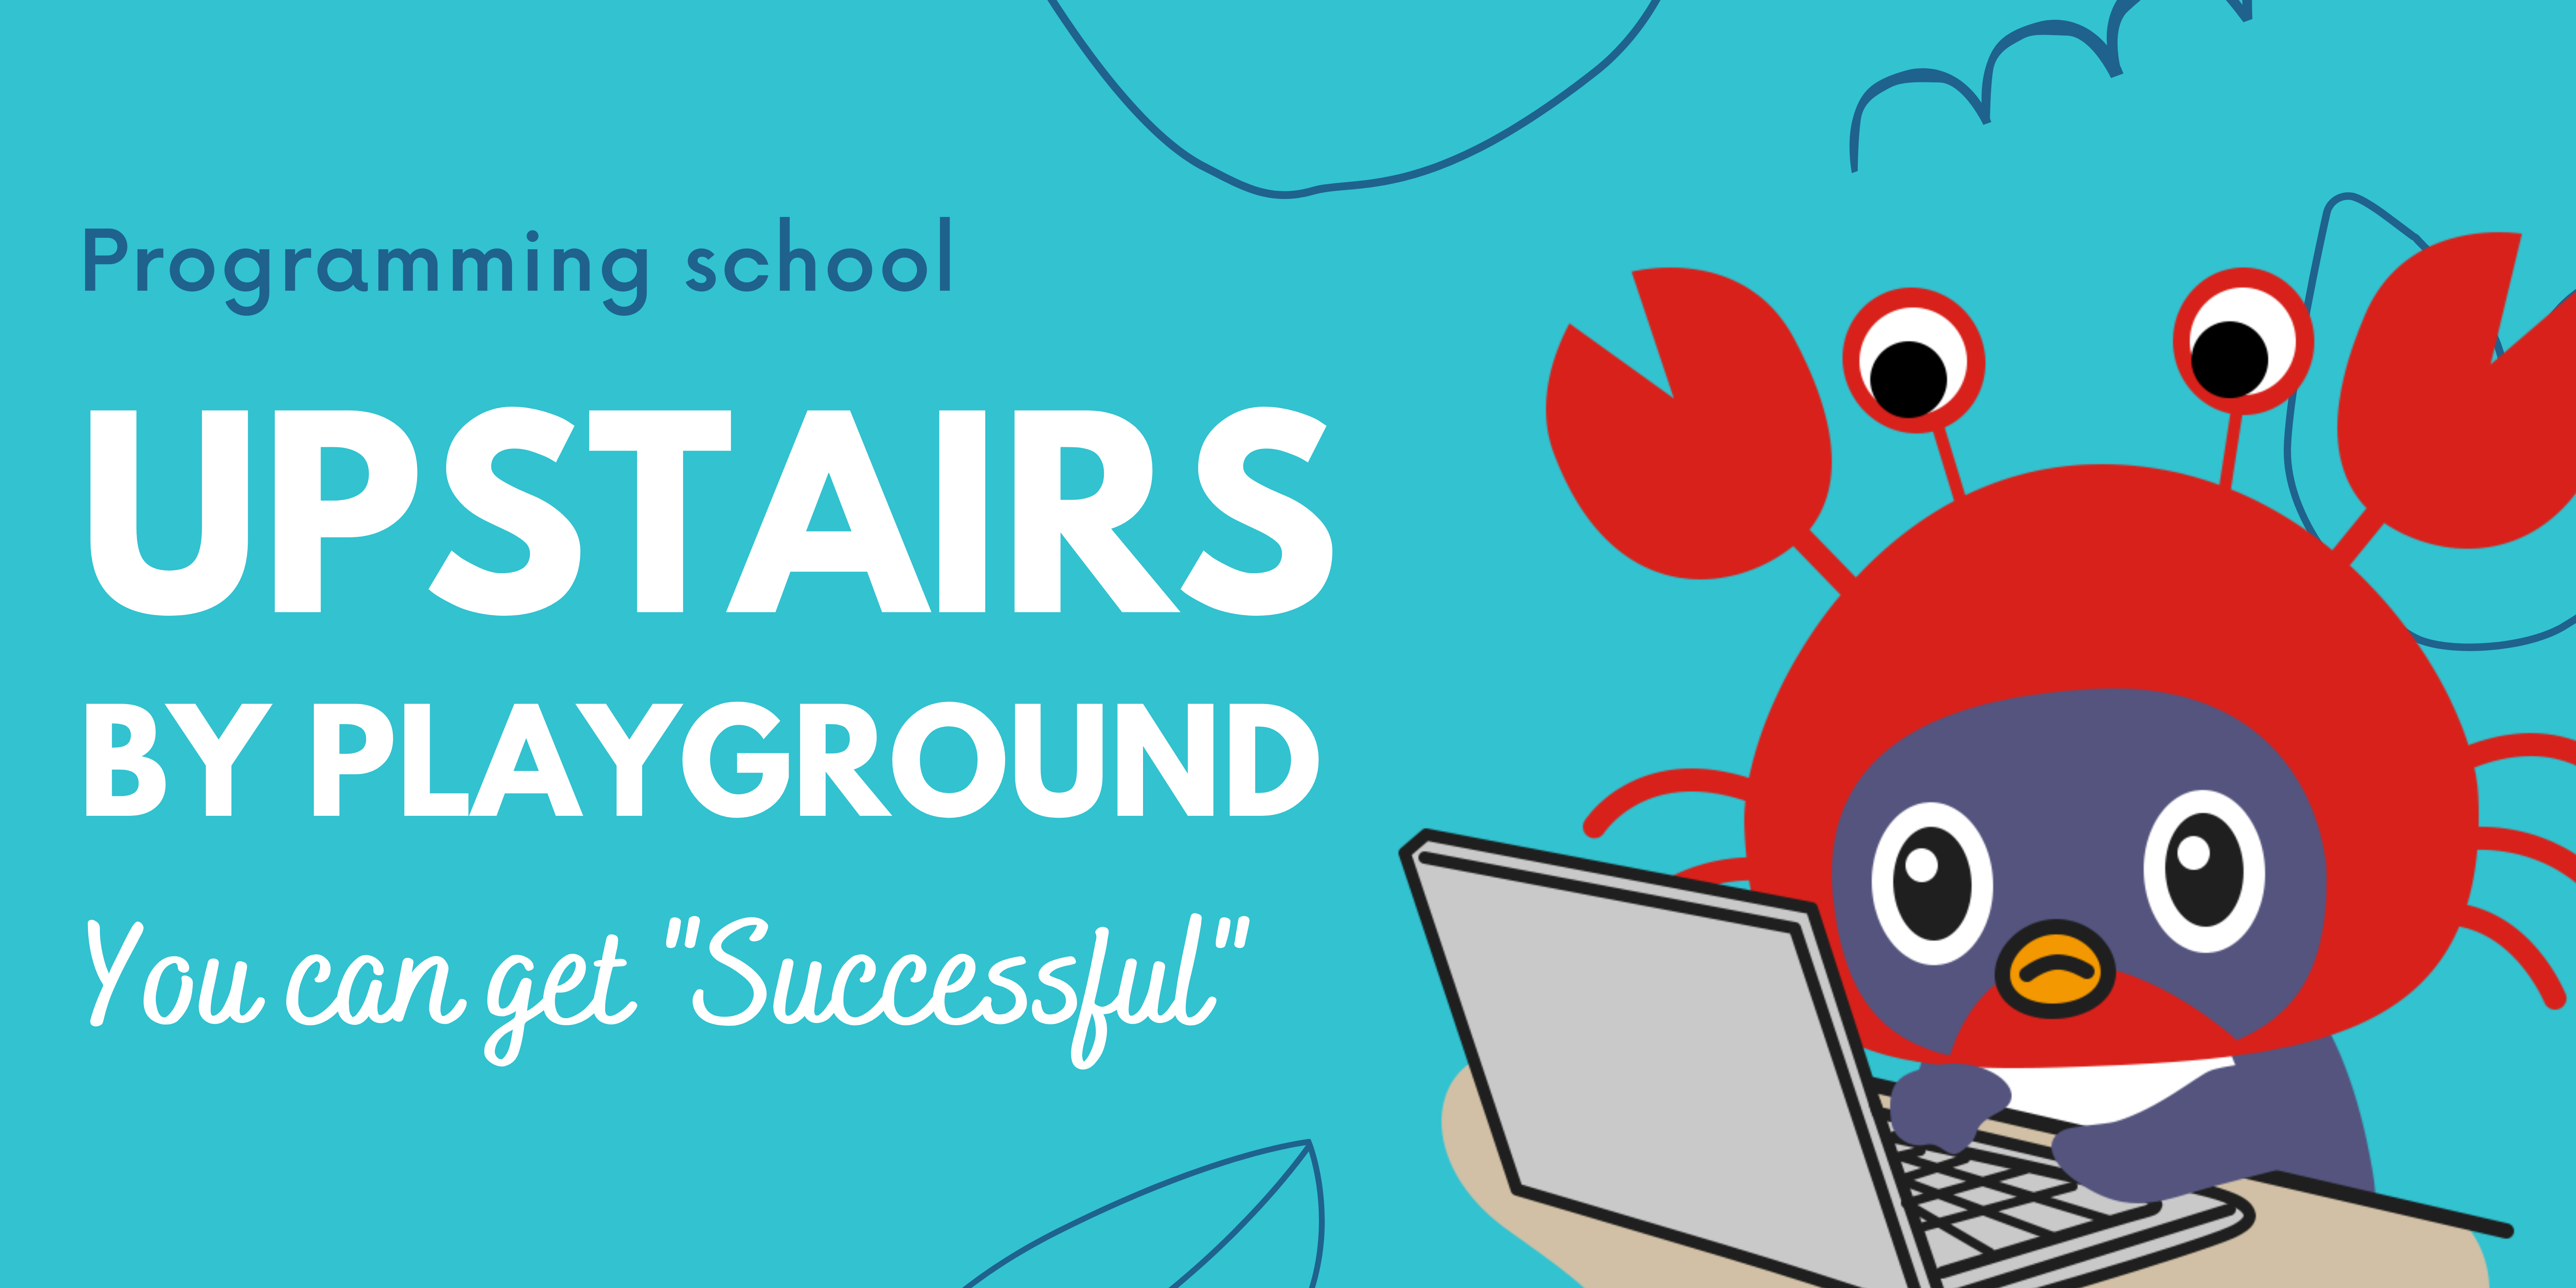
- Web制作とアプリ開発を学べるオンラインプログラミング講座 Upstairs
- 開発,DX推進支援サービス スタートアッププラン