私の方で以前tableViewの表示、セルを選択した時のアクションについてお話ししていました。
詳しくはこちら確認してみてください。

【Swift 初心者】TableViewを表示させるのに1番早い記事 他にもたくさん同じ様な記事があると思いますが、こちらの記事がおそらく tableViewを表示させるのに最速の方法です。
...

【Swift 初心者】[超簡単] UITableViewのセルをタップした時のアクション 以前の記事でTableViewの表示の仕方を紹介しました。 今回はtableViewのCellを選択した時の実装を紹介して...
今回はCellの色をつける、他を選択したら消すという実装を行っていきます。
tableViewの表示ができていることが前提で話していきます。
現状のViewControllerがこちらです。
import UIKit
class ViewController: UIViewController , UITableViewDelegate, UITableViewDataSource {
    var array = ["おはよう", "おやすみ", "こんにちは"]
    func tableView(_ tableView: UITableView, numberOfRowsInSection section: Int) -> Int {
        return array.count
    }

    func tableView(_ tableView: UITableView, cellForRowAt indexPath: IndexPath) -> UITableViewCell {
       let cell: UITableViewCell = tableView.dequeueReusableCell(withIdentifier: "Cell", for: indexPath)
        // セルに表示する値を設定する
        cell.textLabel!.text = array[indexPath.row]
        return cell
    }

    override func viewDidLoad() {
        super.viewDidLoad()
        // Do any additional setup after loading the view.
    }
}
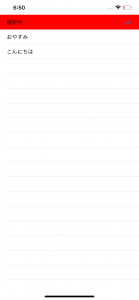
現在の表示
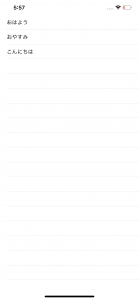
ここから変更を加えていきます。
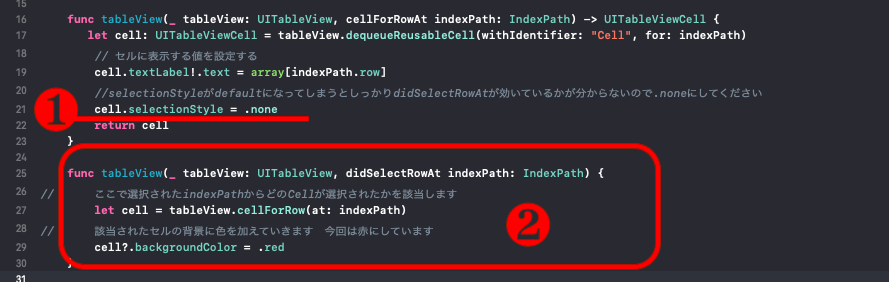
❶ cell.selectionStyle = .noneを加える
Cellに色が実際についたかが判断つきにくくなるので追加をお忘れず。
❷ didselectRowAtのfunctionを追加
セルが選択した時に呼ばれるfunctionです。
// ここで選択されたindexPathからどのCellが選択されたかを該当します
let cell = tableView.cellForRow(at: indexPath)
// 該当されたセルの背景に色を加えていきます 今回は赤にしています
cell?.backgroundColor = .red
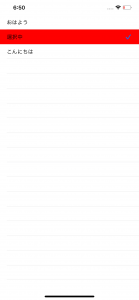
ここまでできたら1度Buildしてみてください。
選択したら赤くはなりますが、何度押しても赤のままとなっていると思います。
他を選択したら前回選択したセルは元の色に戻るという仕様は多くあると思います。
ここでdidDeselectRowAtを使用します。
ここはアプローチの仕方がたくさんあるのでこれが正解とは言えないと思いますが、私はこれが一番簡単でわかりやすいのかと思います。
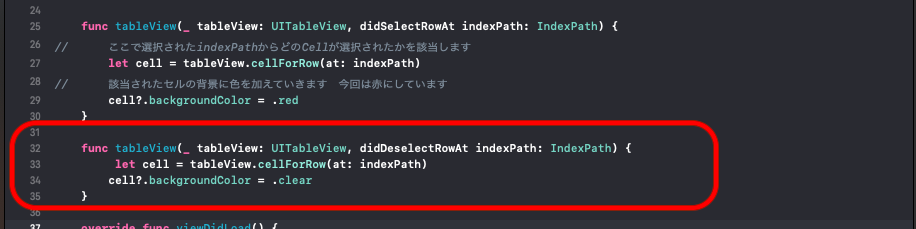
func tableView(_ tableView: UITableView, didDeselectRowAt indexPath: IndexPath) {
 let cell = tableView.cellForRow(at: indexPath)
 cell?.backgroundColor = .clear
}
呼ばれるタイミングは一回遅れてだと思ってください。
一度選択した後からはdidDeselectRowAtが先に呼ばれ、その後にdidselectRowAtが呼ばれるイメージです。
そこに以前赤だった箇所から今回はclear(tableViewの色)を入れることによって色が戻った様に見えるわけです。
仕組みさえわかれば簡単です。
チェックマークを入れたり消したり、表示も文字を変更するということができると思います

func tableView(_ tableView: UITableView, didSelectRowAt indexPath: IndexPath) {
// ここで選択されたindexPathからどのCellが選択されたかを該当します
let cell = tableView.cellForRow(at: indexPath)
// 該当されたセルの背景に色を加えていきます 今回は赤にしています
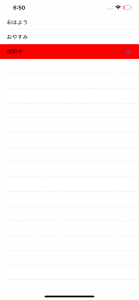
cell?.accessoryType = .checkmark
cell?.textLabel?.text = "選択中"
cell?.backgroundColor = .red
}
func tableView(_ tableView: UITableView, didDeselectRowAt indexPath: IndexPath) {
let cell = tableView.cellForRow(at: indexPath)
cell?.accessoryType = .none
cell?.textLabel?.text = array[indexPath.row]
cell?.backgroundColor = .clear
}
ABOUT ME
株式会社Playgroundのサービス
- 無料・簡単・片手でホームページを作成できる自社サービス Rakwi
- Web制作とアプリ開発を学べるオンラインプログラミング講座 Upstairs
- 開発,DX推進支援サービス スタートアッププラン