私は今まで使う機会がなかったのか、使いにくいのかわからないですが
UISegmented Controlを使ってませんでした。
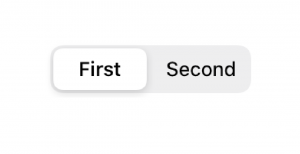
こんなやつです。
目次
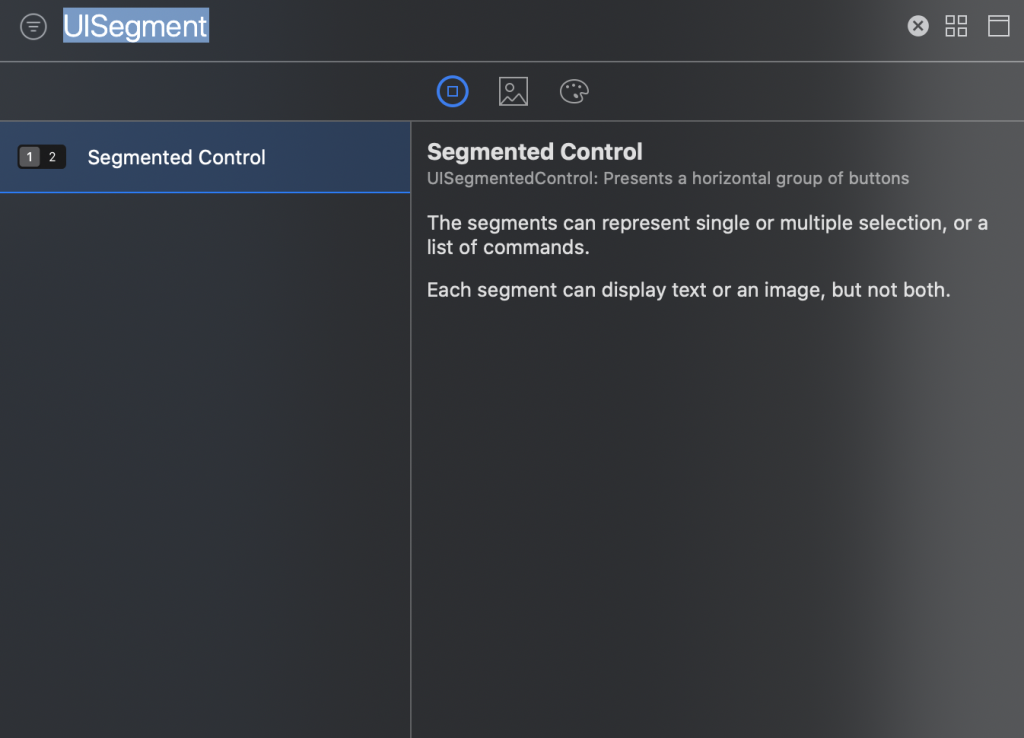
UISegmented Controlの利点
このUISegmented Controlの使いやすい点として以下があります。
- 数を簡単に増やせる
- それぞれのセグメントにindex番号がある
さくっと複数のボタンを作れ押されたボタンによって
アクションを変えるのが非常に簡単です。
カスタムするには正直UIButtonのがいいような感じがしますが、
ここもさくっとご紹介します。
UIの作成
今回は簡易的なタブの作り方をご紹介します。
まずはプロジェクトを作成してMainStoryboardにUISegmented Controlを
置いてやってください。
下の画像の様にUISegmented Control、UITableView, Cellを配置してください。
cellのidentifierの設定を忘れずに。。私はcellって名前にしました。

こんな感じです。
UISegmented Controlの設定
(ここは飛ばしても構いません)
以下2点を変更していきます。
Segmentの数がデフォルトの2つではつまらないので3つにします。
それぞれのTitleもFirst、Secondでつまらないのでここも変更します。
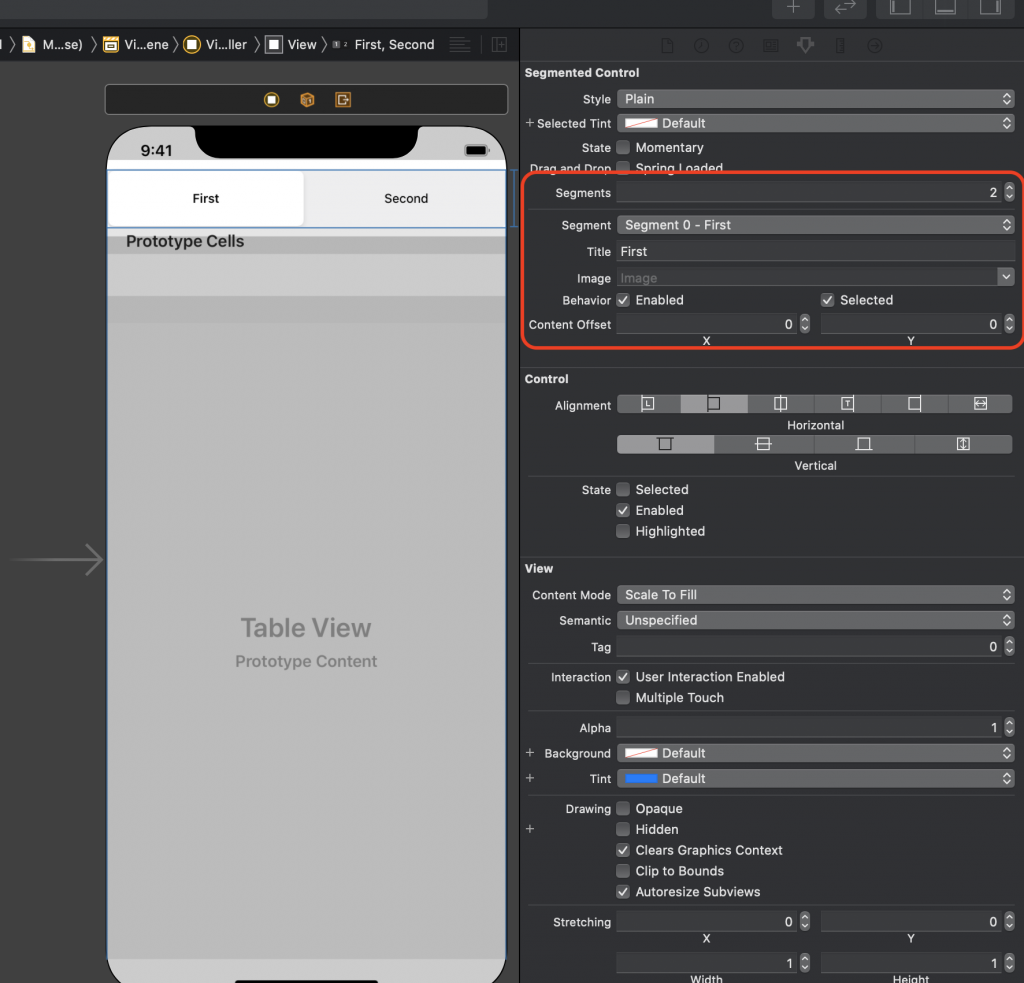
ざっくり赤い枠の中を変更していくと形が変更していきます。
Segmentの数
Segmentsというところを2->3に。
SegmentのTitle
Titleという箇所で変更できます。
Segmentというのをいじると別のSegmentを変更できます。
ここは任意で変更してみてください!
その後全てViewControllerに紐付けてください!
class ViewController: UIViewController {
    @IBOutlet weak var segmentControl: UISegmentedControl!
    @IBOutlet weak var tableView: UITableView!
    @IBAction func selectedSegment(_ sender: UISegmentedControl) {

    }
    override func viewDidLoad() {
        super.viewDidLoad()
        // Do any additional setup after loading the view.
    }
}
こんな感じになっていればいいかと思います。
UITableViewの表示の設定
表示の設定をサックとしていきます。
設定の仕方は
こちらの記事を参考にしていただければと思います。

class ViewController: UIViewController, UITableViewDataSource {
    @IBOutlet weak var segmentControl: UISegmentedControl!
    @IBOutlet weak var tableView: UITableView!
    @IBAction func selectedSegment(_ sender: UISegmentedControl) {

    }
    override func viewDidLoad() {
        super.viewDidLoad()
        tableView.dataSource = self
        // Do any additional setup after loading the view.
    }

    func tableView(_ tableView: UITableView, numberOfRowsInSection section: Int) -> Int {
        return 8
    }

    func tableView(_ tableView: UITableView, cellForRowAt indexPath: IndexPath) -> UITableViewCell {
        let cell = tableView.dequeueReusableCell(withIdentifier: "cell", for: indexPath)
        cell.textLabel?.text = "test"
        return cell
    }
}
ここまでで、一度ビルドしてみてください。
試しに入れたtestという文字のcellが出ていればここまでは順調です。
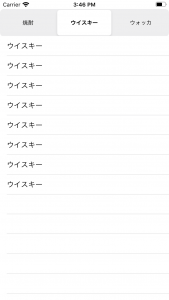
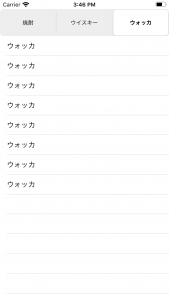
次がようやくUISegmented Controlの見せどころです。
Segmentをtapしたらそれぞれ文字を変更させます
cellの設定
func tableView(_ tableView: UITableView, cellForRowAt indexPath: IndexPath) -> UITableViewCell {
    let cell = tableView.dequeueReusableCell(withIdentifier: "cell", for: indexPath)

//ここから追加
    let segmentIndex = segmentControl.selectedSegmentIndex
    switch segmentIndex {
    case 0:
        cell.textLabel?.text = segmentControl.titleForSegment(at: segmentIndex)
    case 1:
        cell.textLabel?.text = segmentControl.titleForSegment(at: segmentIndex)
    case 2:
        cell.textLabel?.text = segmentControl.titleForSegment(at: segmentIndex)
    default:
        return UITableViewCell()
    }
    return cell
////ここまで
}
segmentを選択した時にtableViewのリロード
@IBAction func selectedSegment(_ sender: UISegmentedControl) {
//////追加
    tableView.reloadData()
//////
}
やってることを説明します!
- 選択されたSegmentによって表示の条件分岐をさせます
- cellのtextに先ほど任意で設定したそれぞれのSegmentのTitleにします
- 別のSegmentを触れた時、tableViewをリロードさせます
全体のコード
class ViewController: UIViewController, UITableViewDataSource {
    @IBOutlet weak var segmentControl: UISegmentedControl!
    @IBOutlet weak var tableView: UITableView!
    @IBAction func selectedSegment(_ sender: UISegmentedControl) {
        tableView.reloadData()
    }
    override func viewDidLoad() {
        super.viewDidLoad()
        tableView.dataSource = self
        // Do any additional setup after loading the view.
    }


    func tableView(_ tableView: UITableView, numberOfRowsInSection section: Int) -> Int {
        return 8
    }

    func tableView(_ tableView: UITableView, cellForRowAt indexPath: IndexPath) -> UITableViewCell {
        let cell = tableView.dequeueReusableCell(withIdentifier: "cell", for: indexPath)

        let segmentIndex = segmentControl.selectedSegmentIndex
        switch segmentIndex {
        case 0:
            cell.textLabel?.text = segmentControl.titleForSegment(at: segmentIndex)
        case 1:
            cell.textLabel?.text = segmentControl.titleForSegment(at: segmentIndex)
        case 2:
            cell.textLabel?.text = segmentControl.titleForSegment(at: segmentIndex)
        default:
            return UITableViewCell()
        }
        return cell
    }
}
ビルド

めっちゃ簡単ですね!
誰かこの記事をみていることを願い来週もまた書きます。
まさを。
- 無料・簡単・片手でホームページを作成できる自社サービス Rakwi
- Web制作とアプリ開発を学べるオンラインプログラミング講座 Upstairs
- 開発,DX推進支援サービス スタートアッププラン